SplitCam
How to Add a Webcam and Microphone to SplitCam
Download SplitCam software by clicking here:
Follow the guide below to add a webcam and microphone to splitcam
-
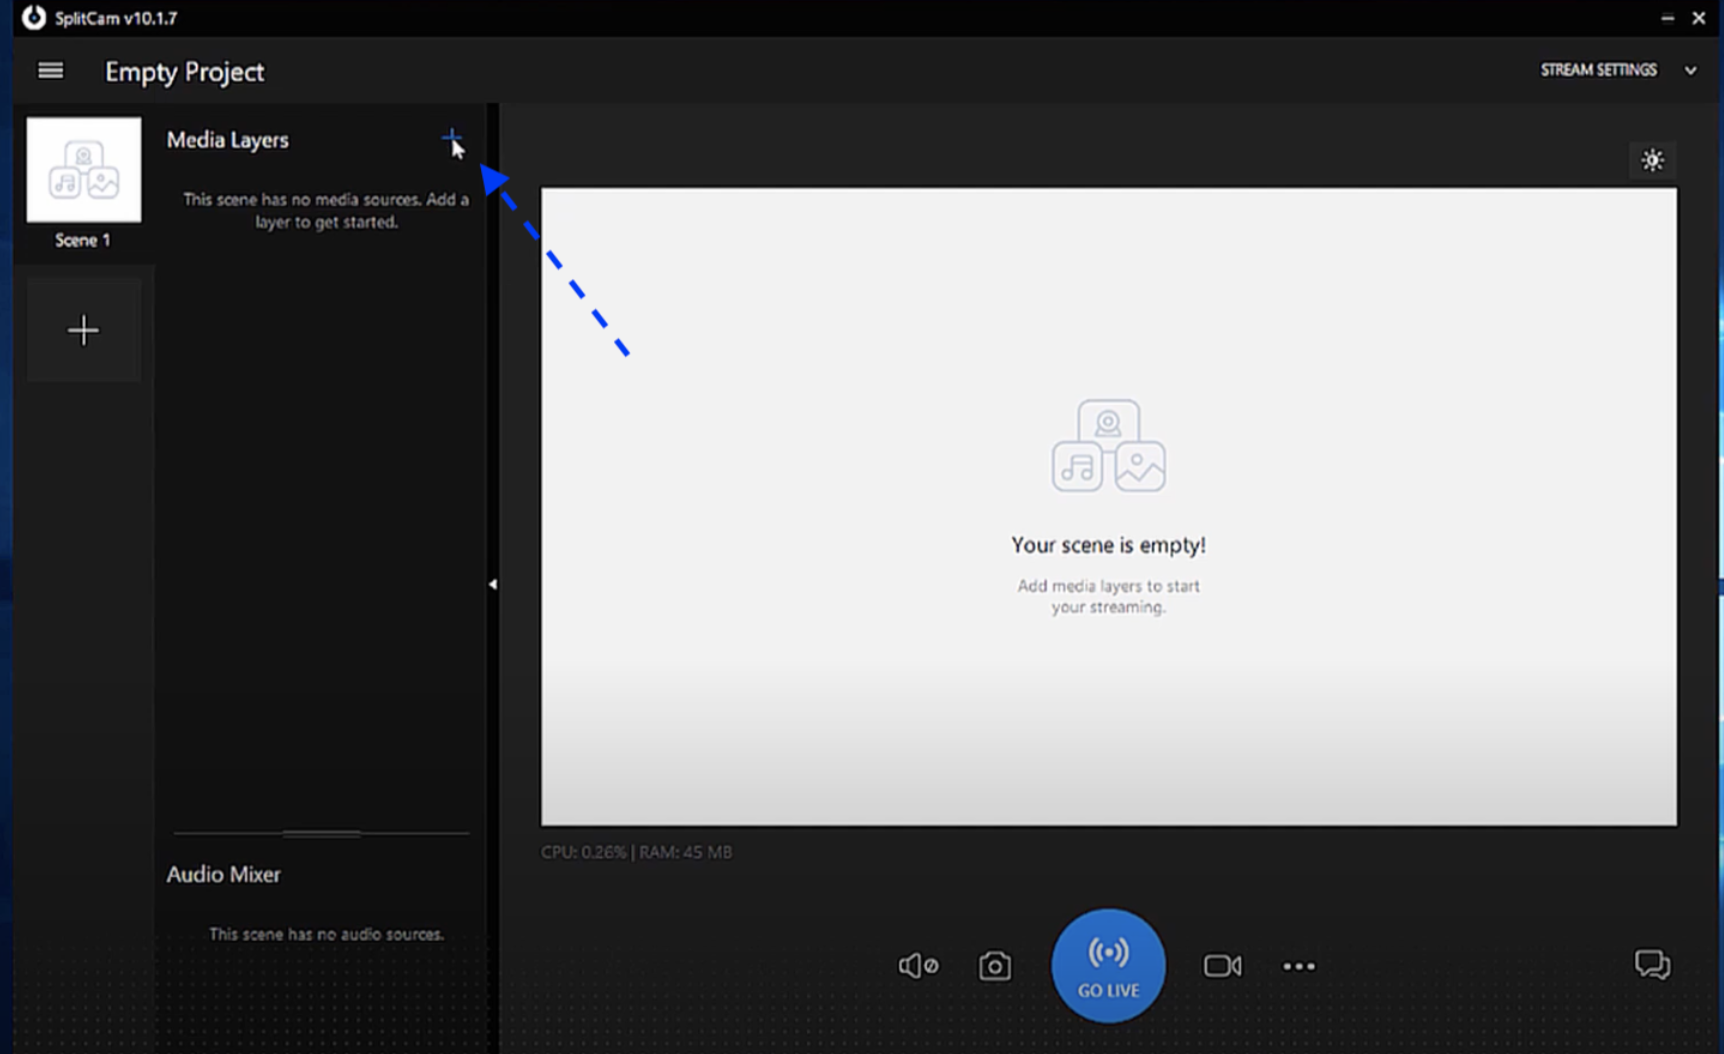
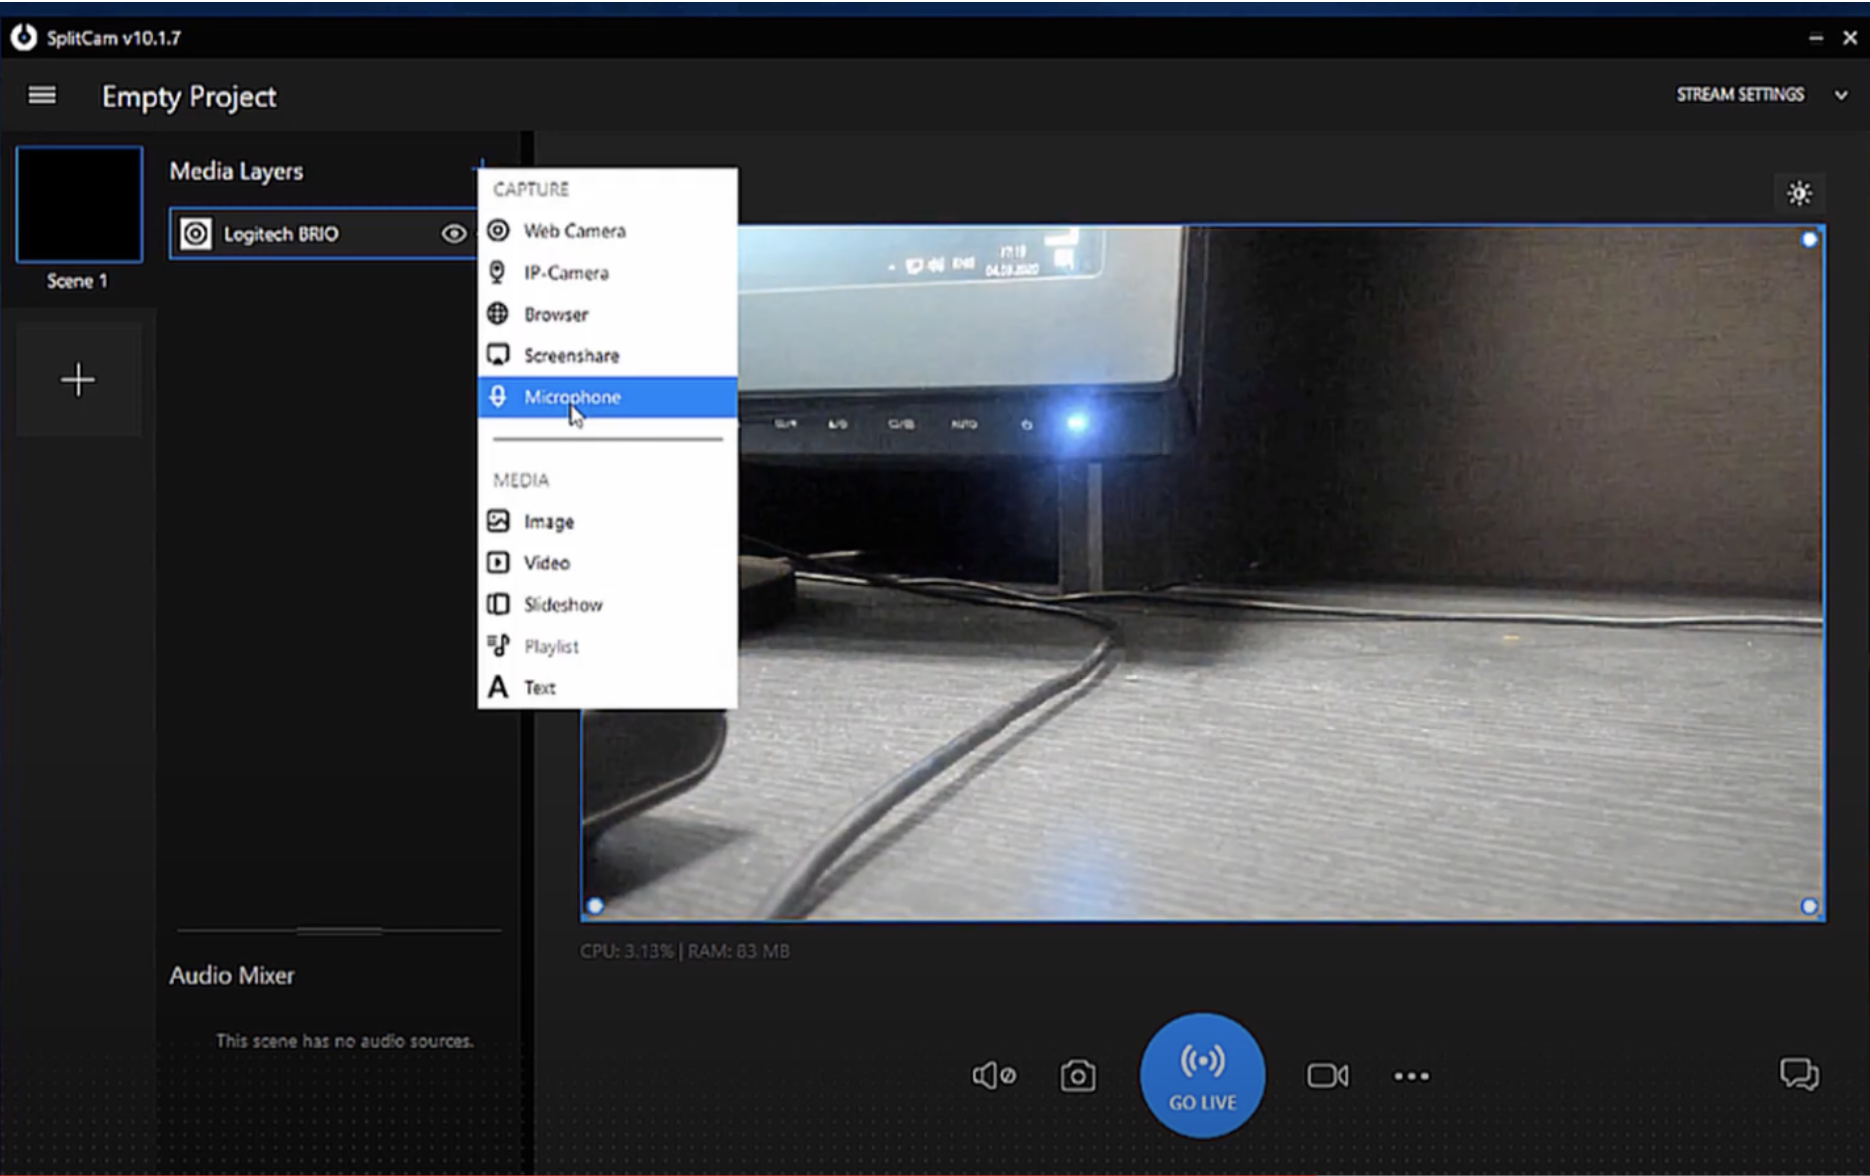
To add an audio and video source click on the + sign in the MEDIA LAYERS (see screenshot below)
-
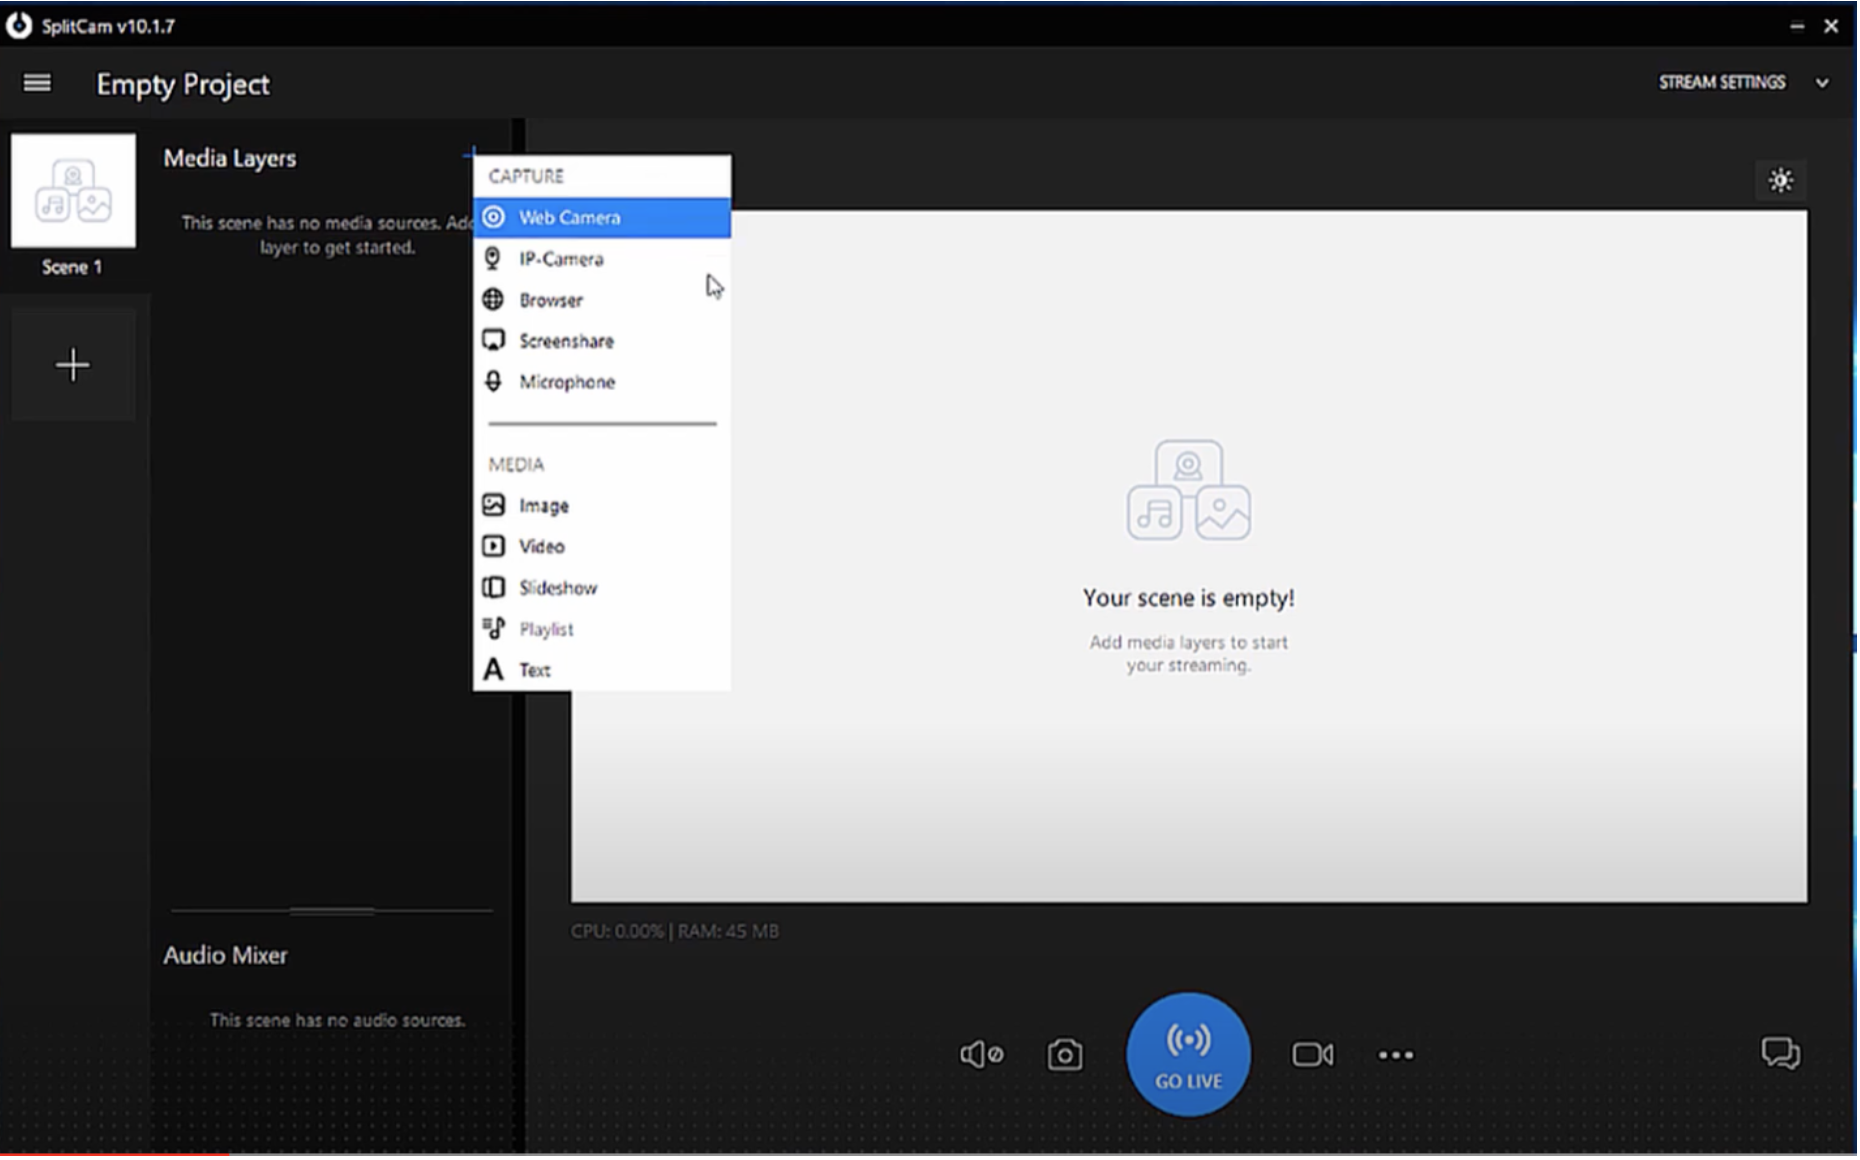
Select WEB CAMERA to add a video source. A new window will appear.
-
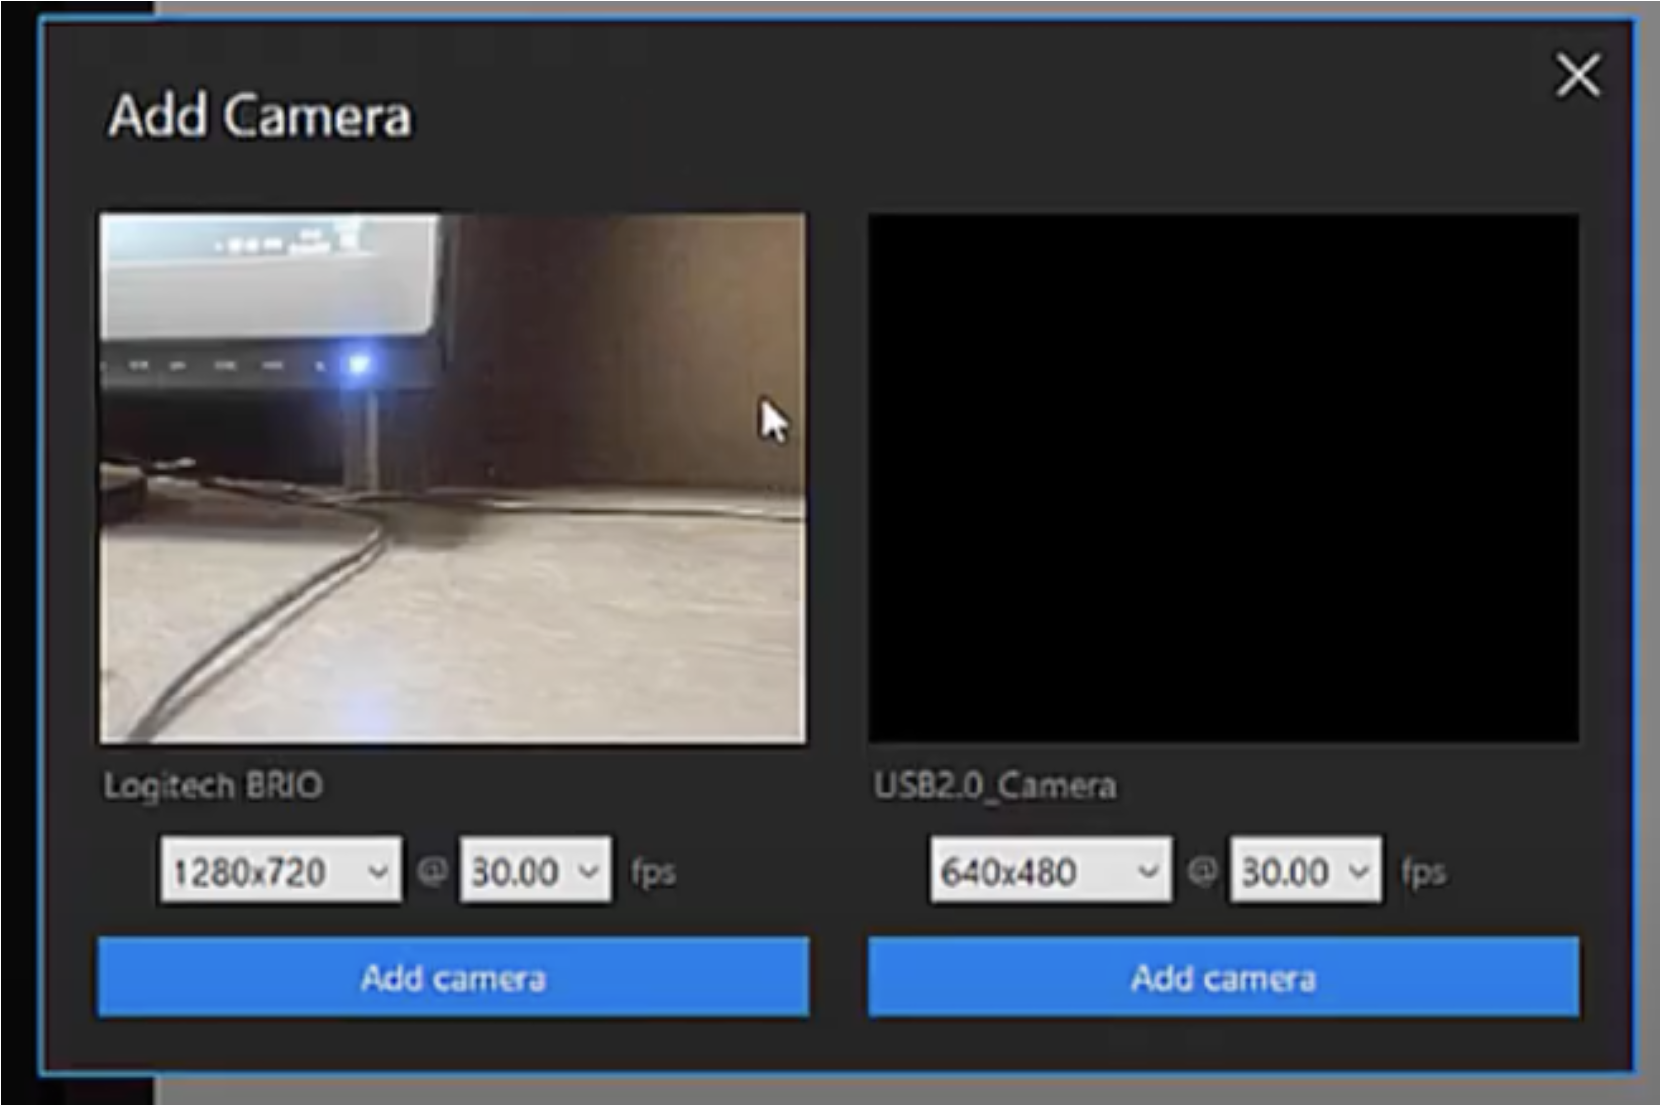
You will get a new window and you will see a list of all the available web camera on your computer, click ADD CAMERA.
-
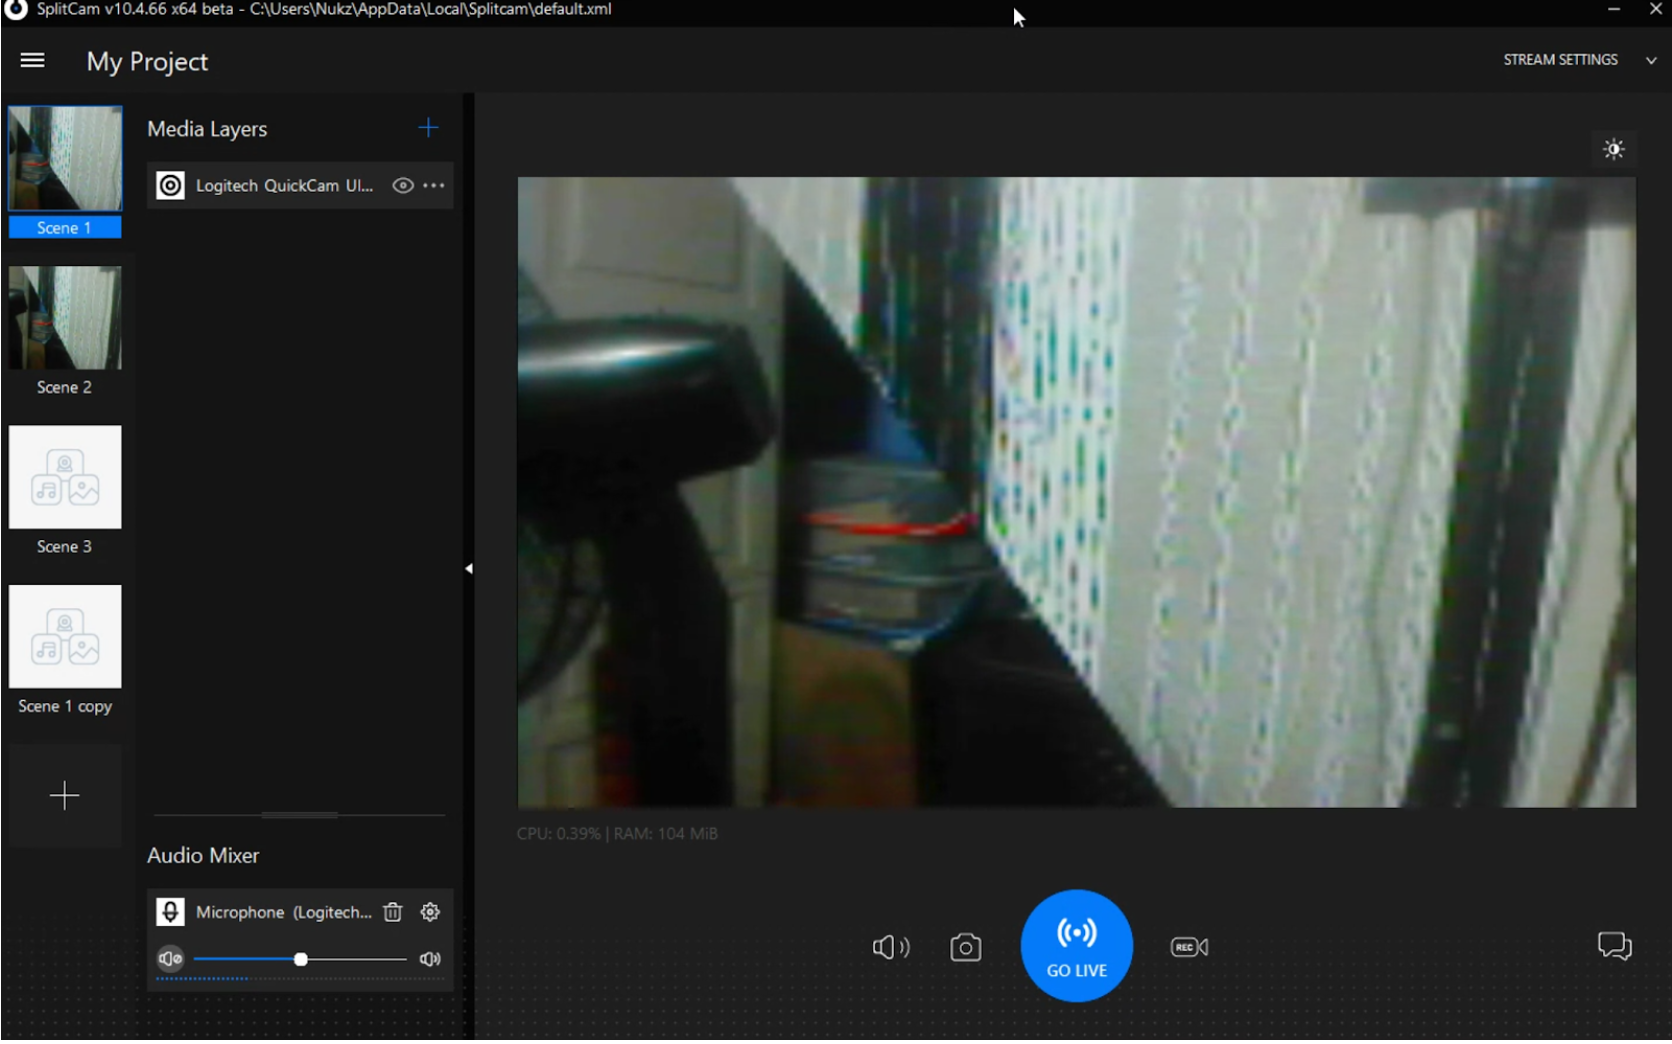
This is how it will look once you've selected a camera
-
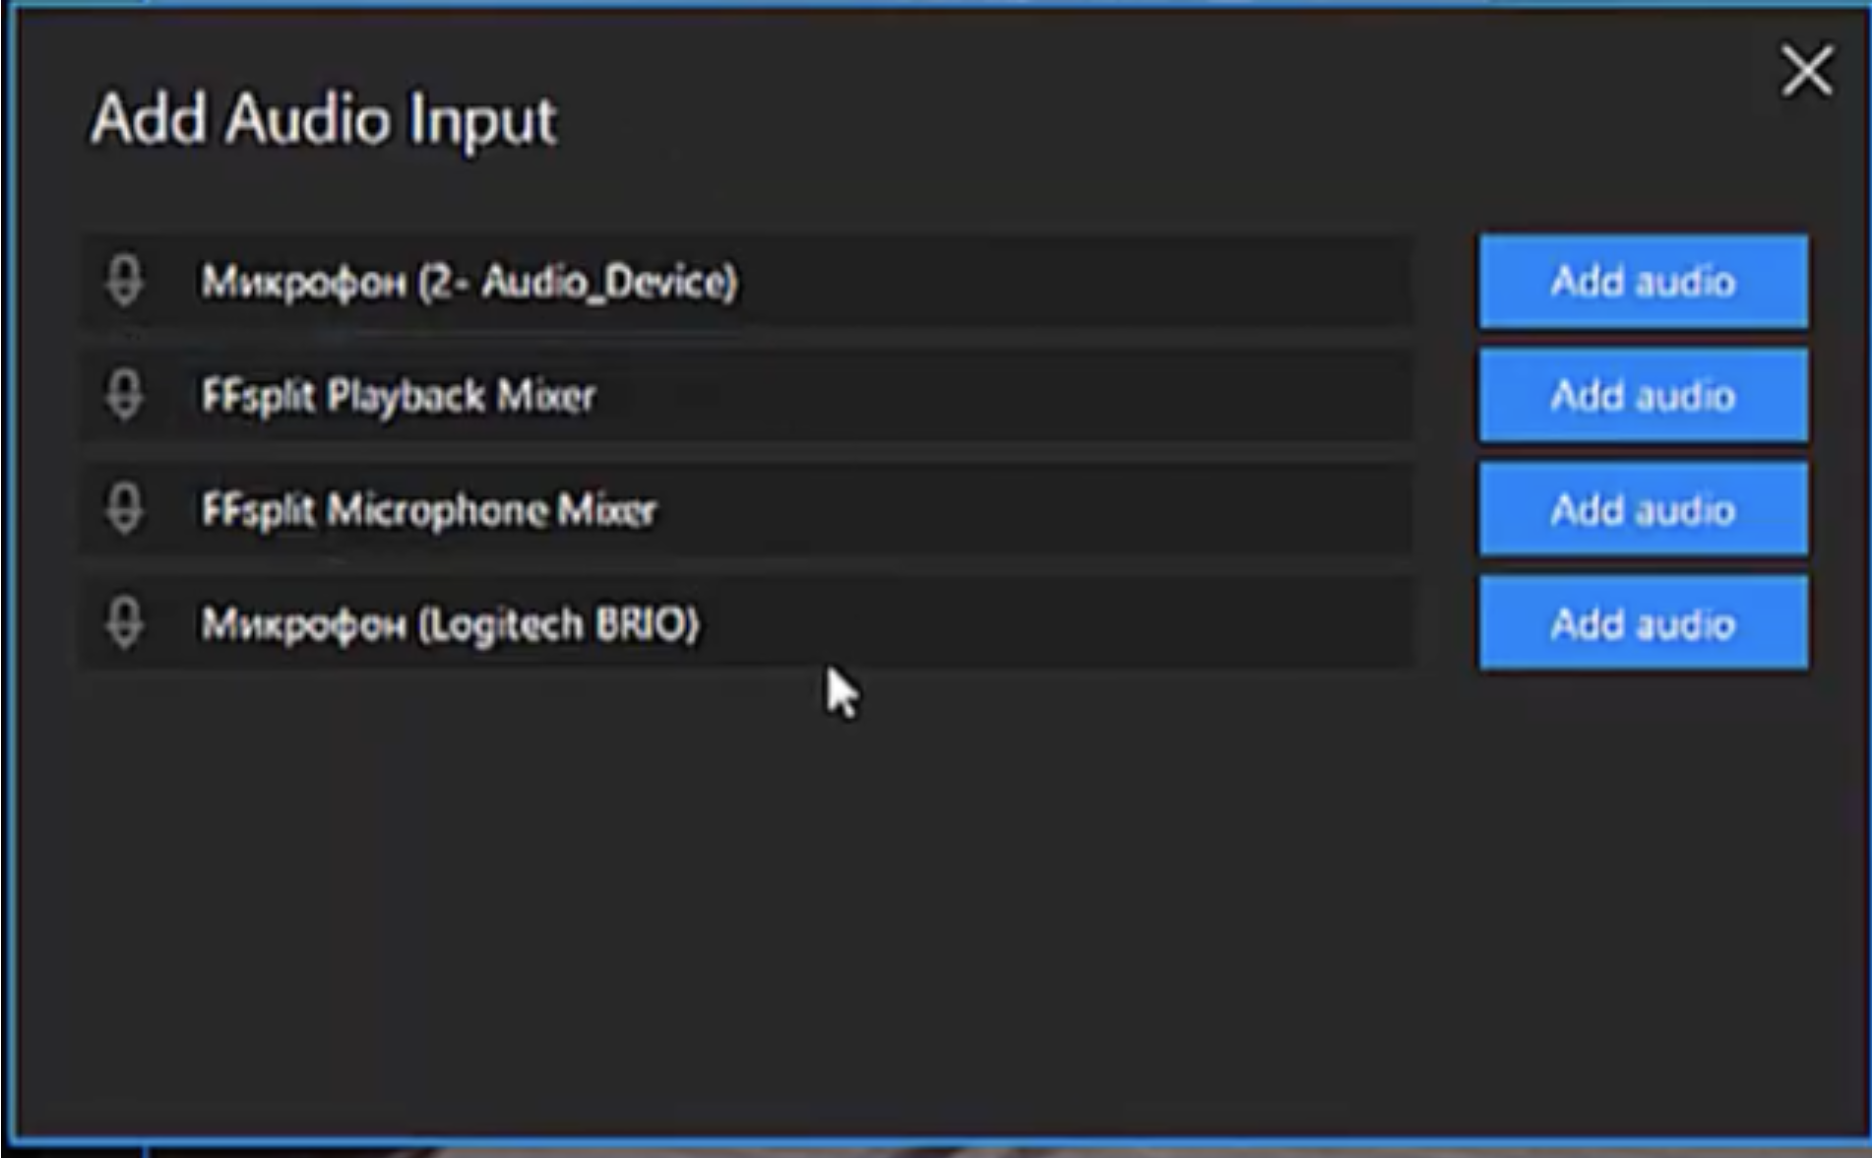
Next is add a MICROPHONE.
Once you're done adding Audio you can open the BROADCASTER NOW and just leave the SplitCam open. DO NOT CLOSE SplitCam.
How to Stream Using SplitCam
Watch the YouTube video here: How to Stream Using SplitCam
or follow the guide below
-
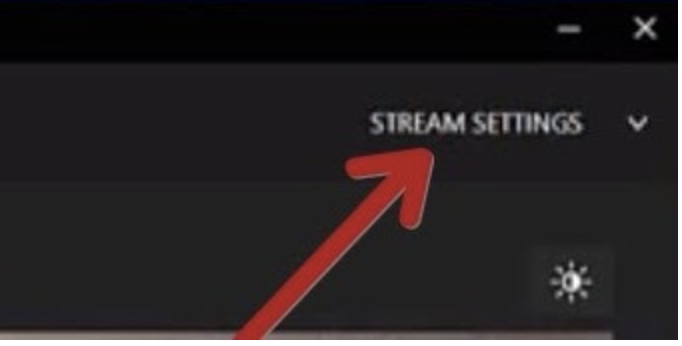
Click STREAM SETTINGS on the upper right section of Split Cam.
-
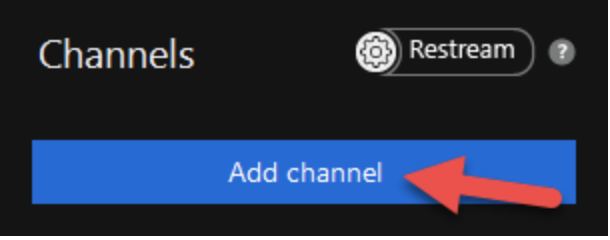
Once Stream Settings is Open click the ADD CHANNEL button.
-
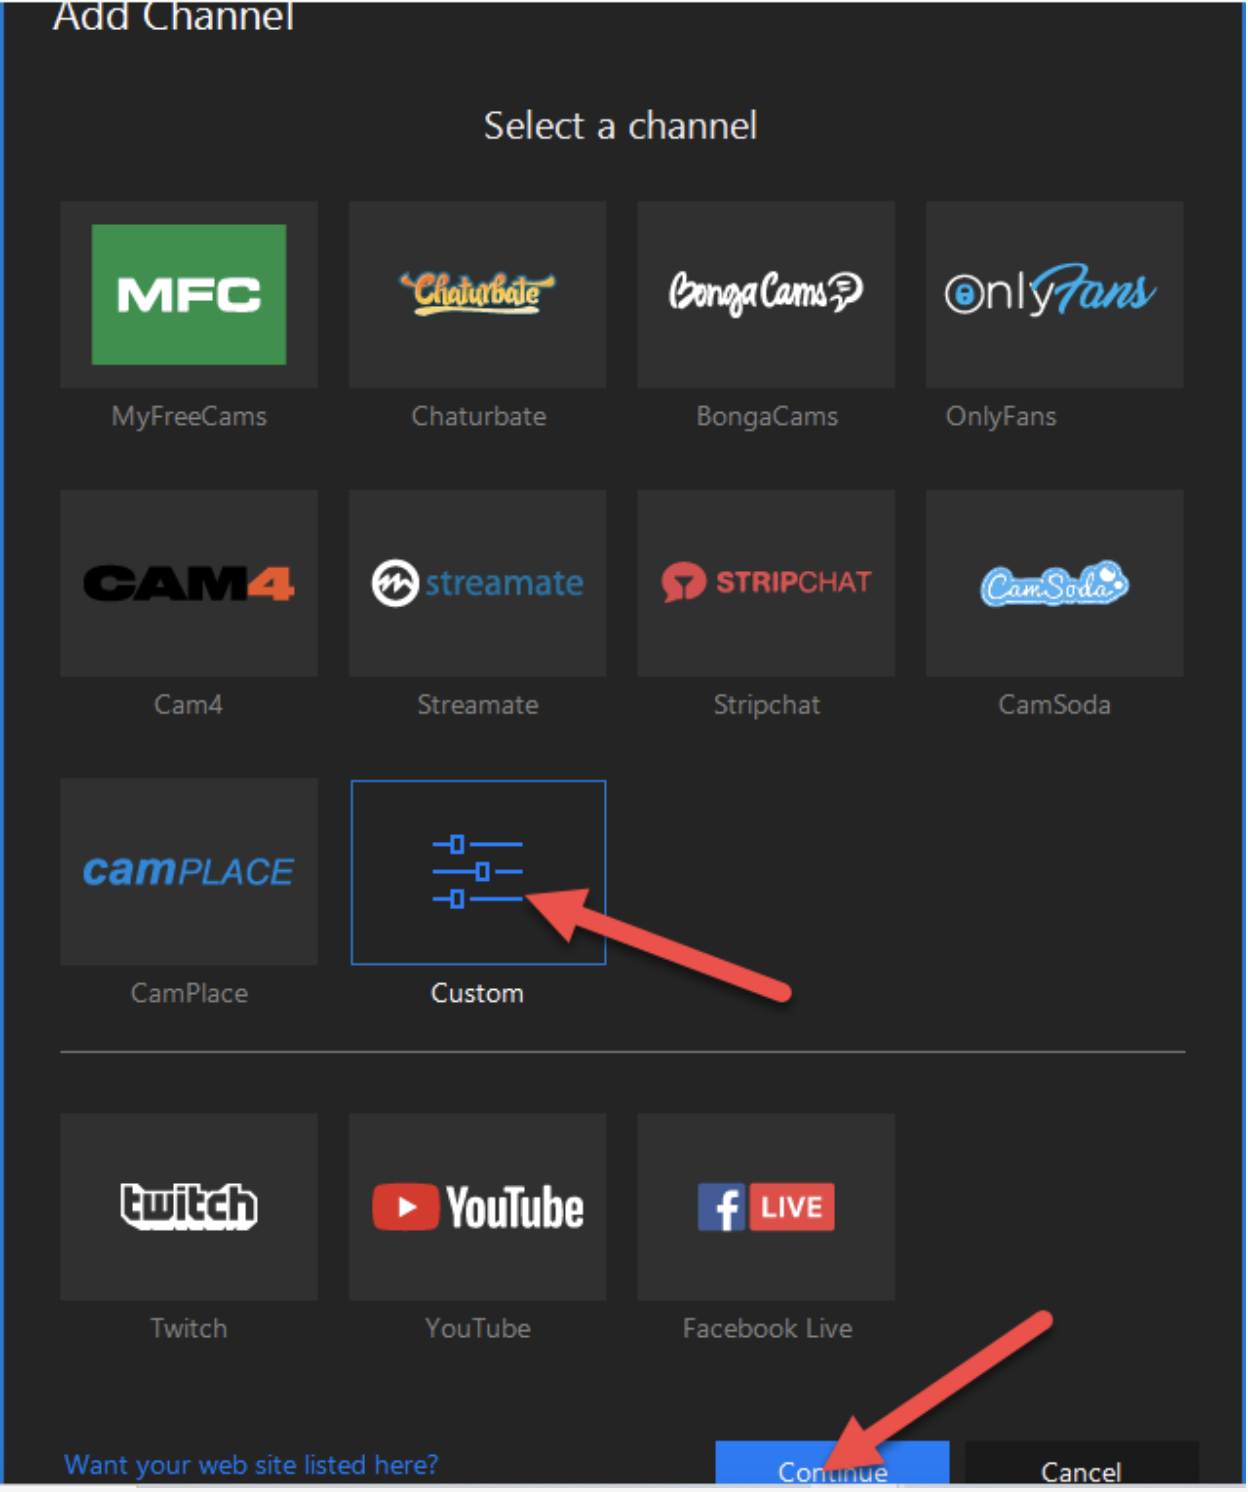
The add channel window will appear select CUSTOM, then click the CONTINUE button.
-
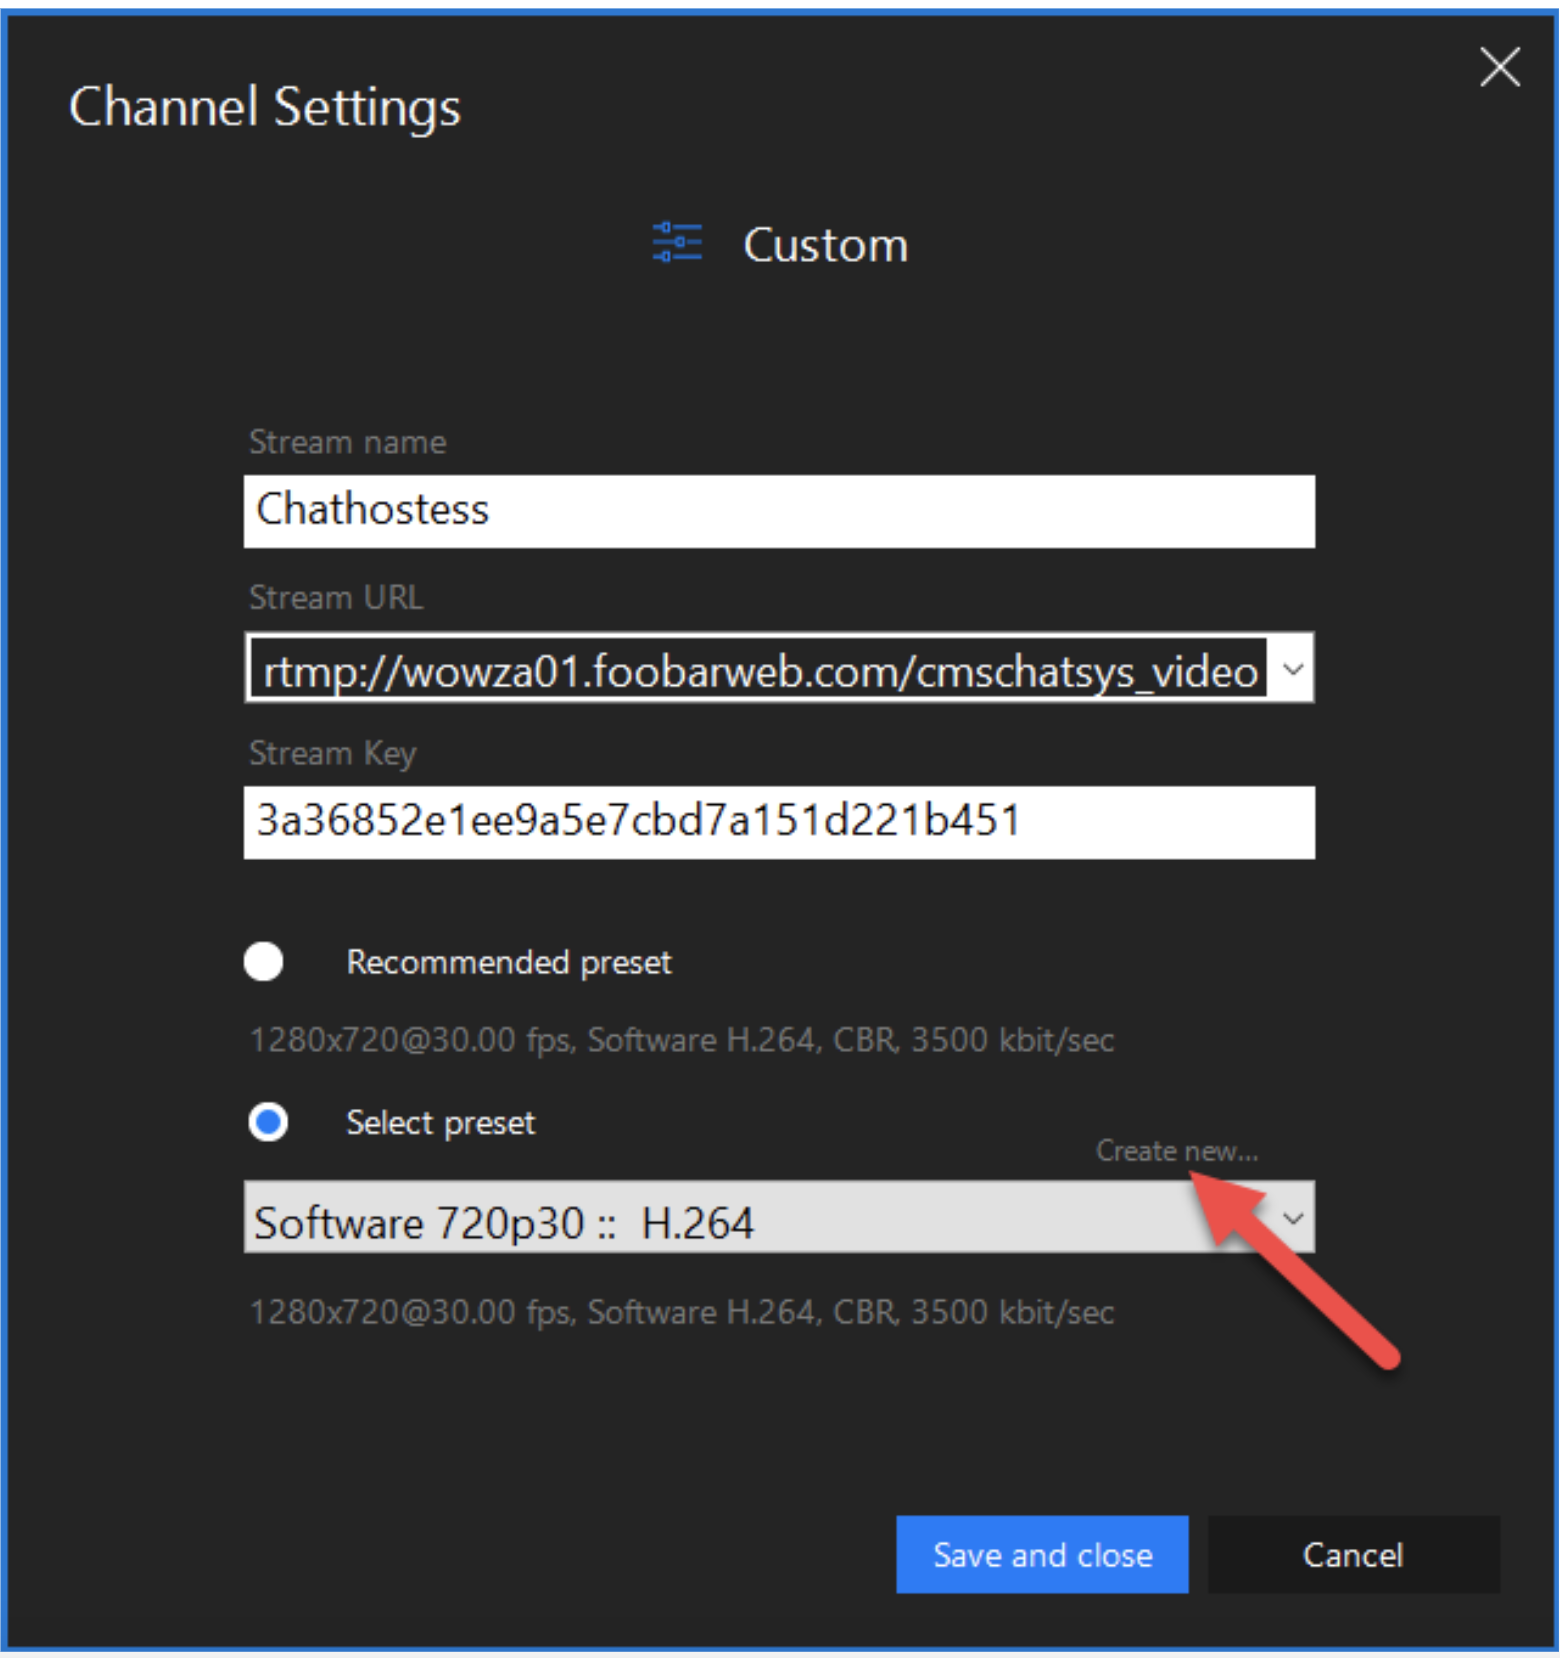
After clicking the continue button, the stream settings window will appear. You have to input a stream name, stream URL, and stream key.
You can get those values by logging here: https://chathostessmodels.com/login/model
-
You need to log in with your model USERNAME and PASSWORD.
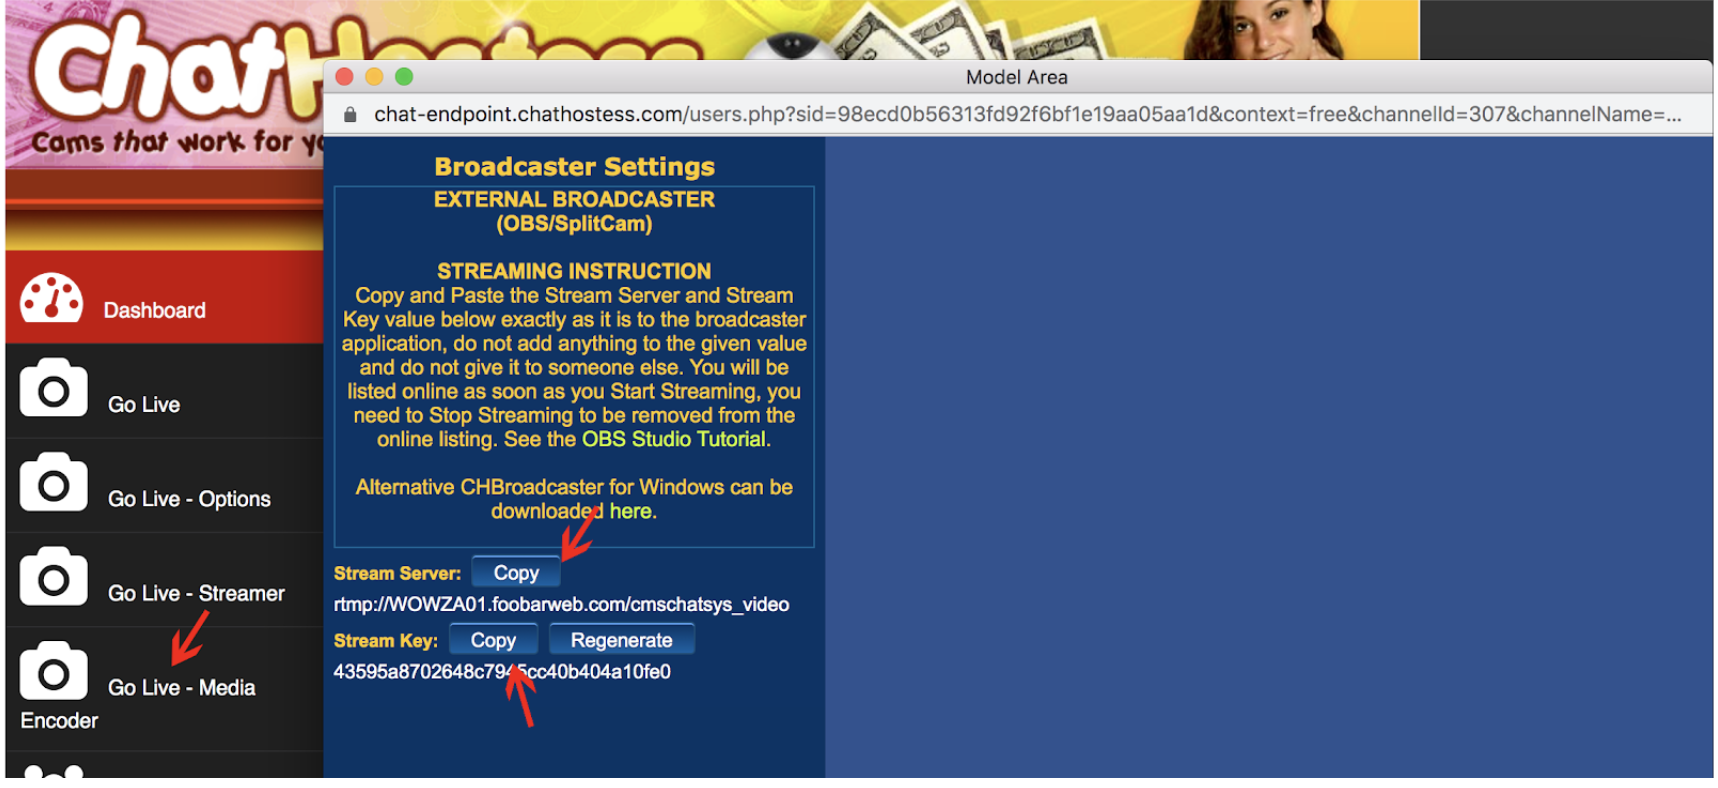
Once logged in click GO LIVE - MEDIA ENCODER and a new popup window will appear containing your broadcaster settings.
-
Copy the Stream Key and Stream Server by clicking the copy button and paste them into the Split Cam Channel Setting window.
For the Stream name field, you can type in any name.
See screenshot for guidance -
Now it's time to create a PRESET, click the CREATE NEW link to open the preset window.
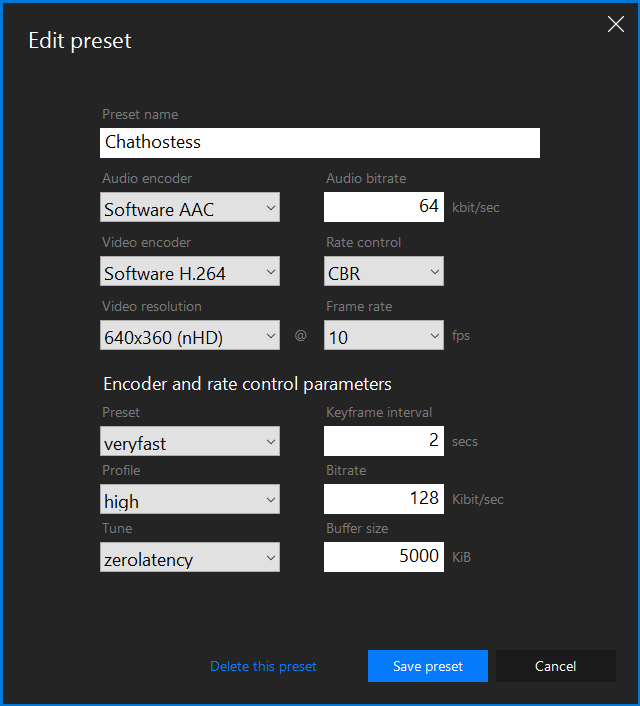
Follow the settings from the screenshot below.
-
Once you're done setting your PRESET click SAVE PRESET to close the window and go back to the Channel Settings.
In the Channel Settings window click SAVE AND CLOSE.
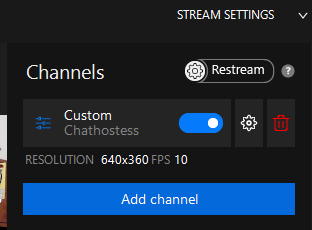
Notice that in the stream settings your new channel has been added.
Make sure you ENABLE the channel by clicking the switch button see screenshot above.
Tip: You will know that it is enabled if the color is blue. If this is yellow or red it means you're not streaming.
Once that is done just click the GO LIVE button to start streaming.
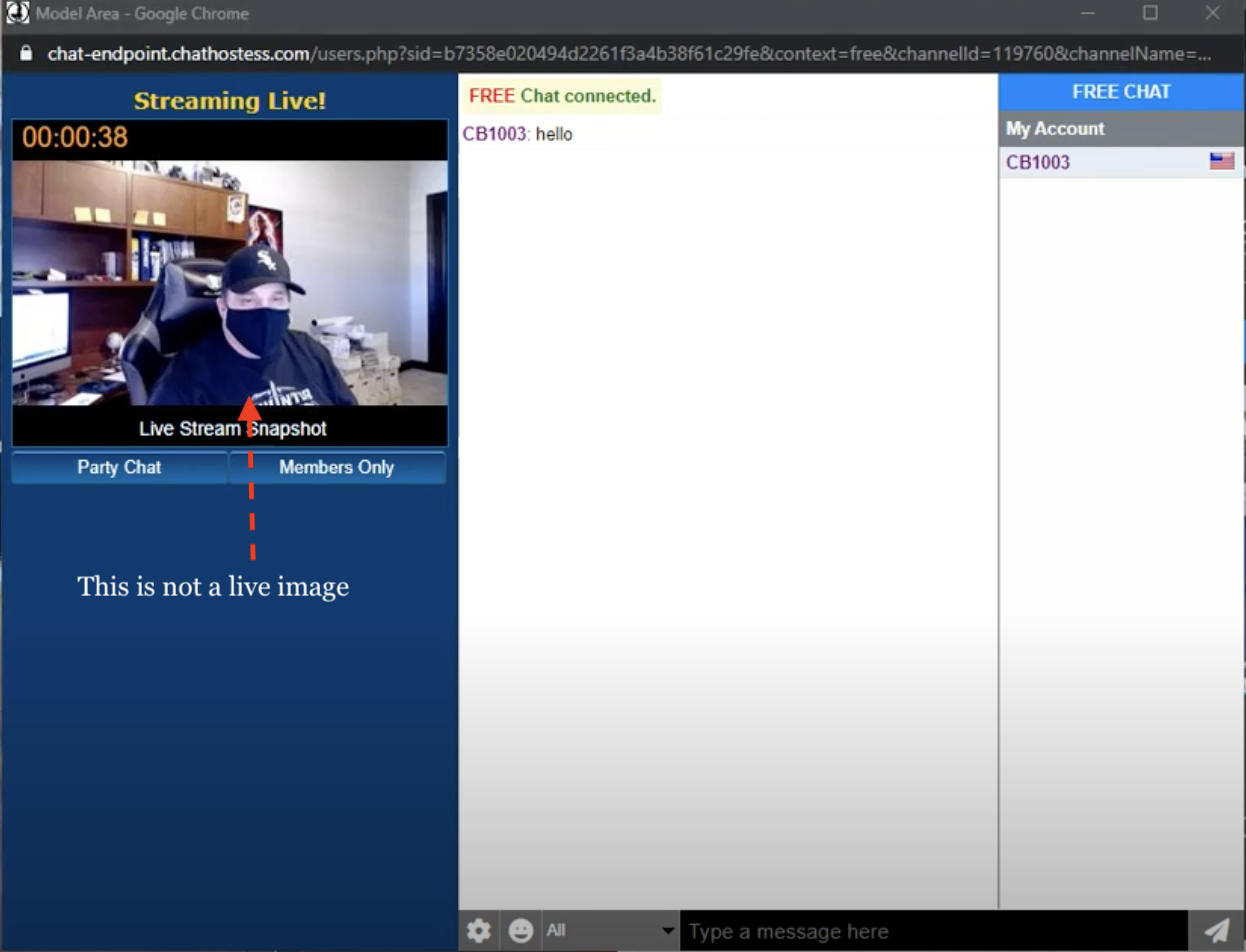
Wait for a few seconds for the chat window to be active.
Once you're done streaming click the button below.
